One of the major pains in medical billing is making sure you have all the paper work complete and submitted. Wouldn’t it be nice to have everything done each day before you leave? We have added an quick and easy photo upload feature that allows you to upload your billing sheets in just a few seconds. With this feature, you can snap a photo of the billing sheet, have the image securely uploaded using Statgo’s app, and you’re done! We’ll transcribe and optimize your billing, submit your claims for payment, and manage any underpaid or rejected claims to ensure everything get paid.
In this post, we’re going to review how to use our photo upload feature for both our mobile and desktop website. The process is similar on Desktop and Mobile, but some interfaces will look different due to screen sizes, so we’ll cover both in our “How To” section. Make your medical billings simple – Statgo’s tick box billing sheet, hospital patient label, snap a quick photo – medical billing has never been so easy.
Mobile App: Medical Billing Photo Upload
And that’s it! Your uploaded billing sheets are now available in your documents section of the Statgo app. Give photo upload it a try and you can have your medical billing sheets submitted and off your mind before you finish your shift!
Desktop: Quick Image and Document Upload
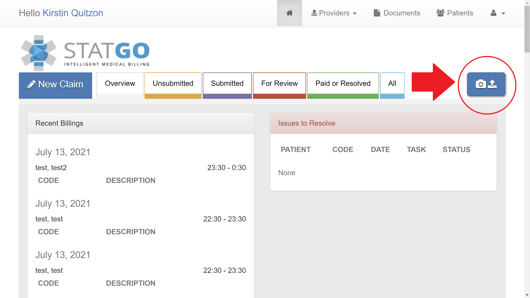
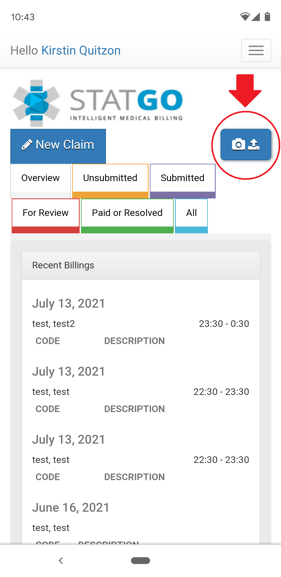
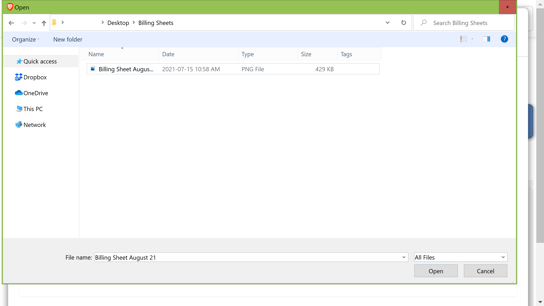
This button is available on all screens with the claim view tabs, and you will immediately be asked to upload a file or photo from your computer.
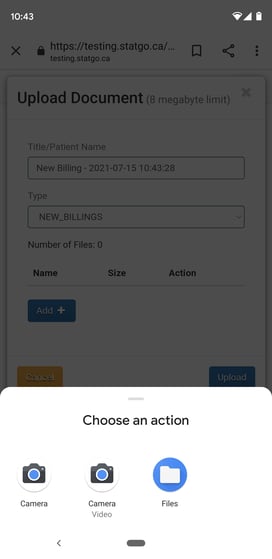
Once your first document or photo is provided, you will have a chance to confirm the details, or to provide more documents or photos. We now pre-fill the title and document type, so they are optional, but you can still edit the text or type selection, where applicable.
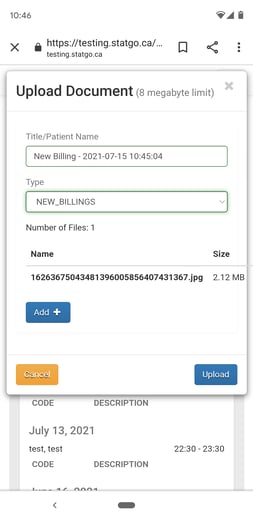
Use the [Add] button to upload additional files or photos into this bundle. If you change your mind, you can safely [Cancel] the upload. Otherwise, once everything looks good, proceed to the next step by pressing [Upload].
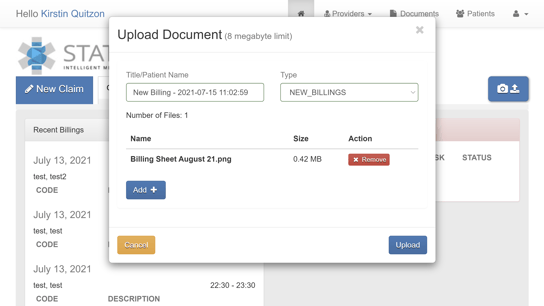
Once you are happy with the file(s) selected, and the upload details, proceed using the [Upload] button.
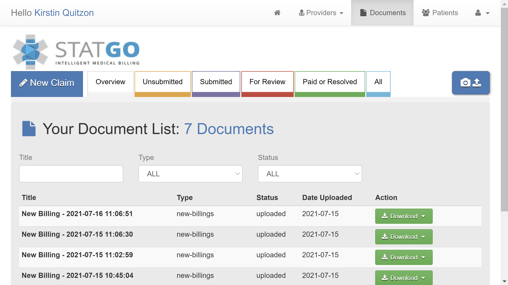
Once the files are uploaded to our system, you will be automatically redirected to the “Documents” section of the billing application, where you can review, edit and download any previously uploaded documents:
Recommended Browsers
To ensure the best possible experience, we recommend using native browsers when accessing the application from mobile. Please refer to the following list:
iOS Devices (iPhone, IPad): Safari Browser
Android Devices: Google/Chrome Browser
Photo Upload: Quick, Secure, Simple
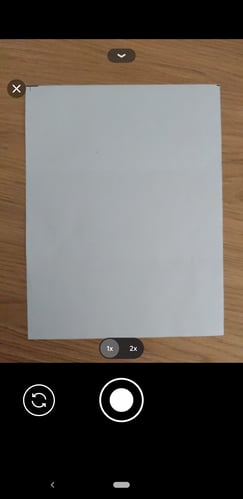
Statgo’s photo upload feature makes it easy to snap a quick photo of the billing sheets and patient labels. You can now upload your billing sheet quickly and easily each day. Snap, send and done.
Have questions or comments on Statgo’s photo upload feature? Get in touch, we’re always happy to chat.